Thursday, May 10, 2012

Tailor Made


IMG_2620

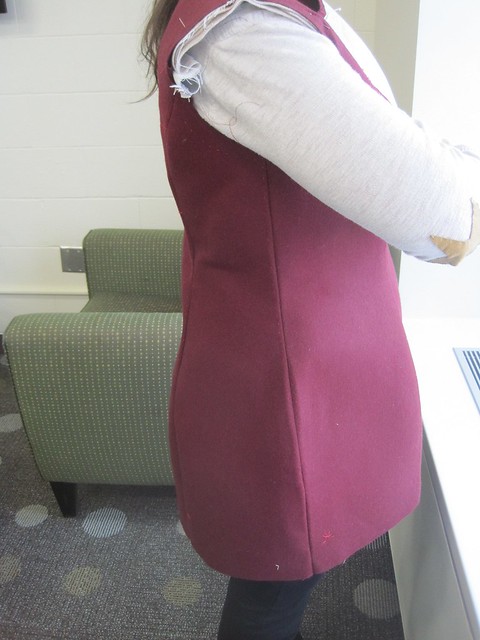
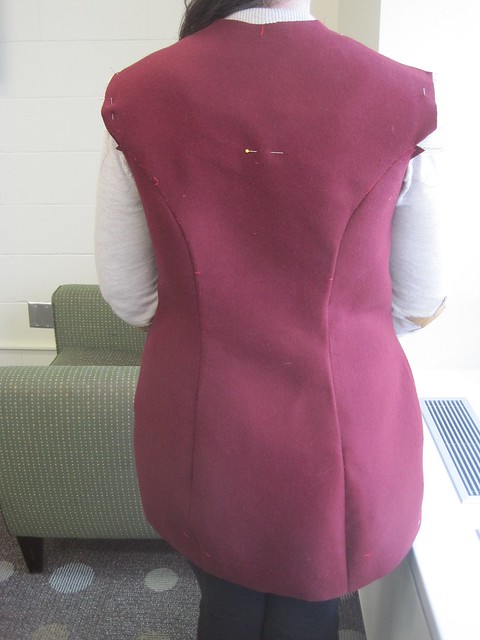
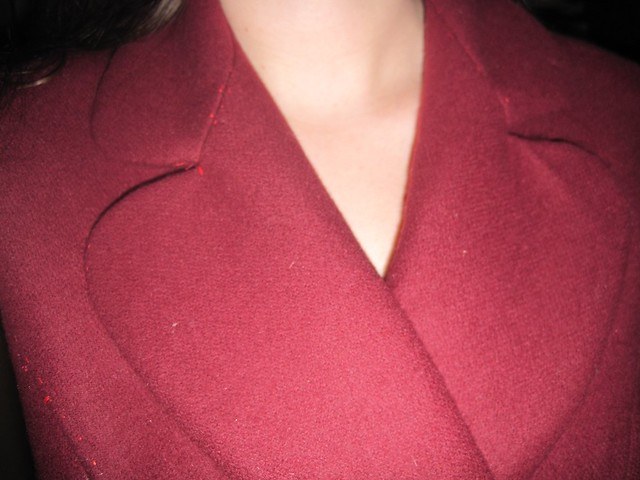
Making a coat is really, really time consuming. And hard. And fussy. But it's also a kind of magic--seeing the soft wool transform, molding it with the help of supportive devices and materials. It is incredible that all the ugly innards come together to create something so crisp and fitted. I certainly have a new kind of respect for all fine tailoring after this winter!

Let's start from the beginning. We were to make coats or blazers in my Advanced Pattern Development class this semester. The requirements were that it had to be wool, and had to have bound button holes, welt pockets, and a collar and lapel. I was heavily inspired by the burgundy coat I designed for my women's line in my class last semester, but I had to translate the design from embossed leather to wool, so some heavy-handed changes ensued. I eventually discarded the front panel and the zipper, but kept the essence of the design by keeping the leather and the snaps.

We started by draping a basic long-torso sloper on mannequins. From here, we transferred the drape to paper, mocked up a muslin of the pattern, made necessary fit alterations, fixed the pattern, and then altered the pattern to the size necessary for a coat, adding a collar, lapel, and sleeves. I settled on a double breasted design with a curved collar and lapel, and a two-piece sleeve. We mocked these up, fitting them to ourselves instead of to the dress forms. And then we mocked them up again. And again. And again. I think I made 4 1/2 muslins in total, perfecting the fit as I went.
IMG_2597

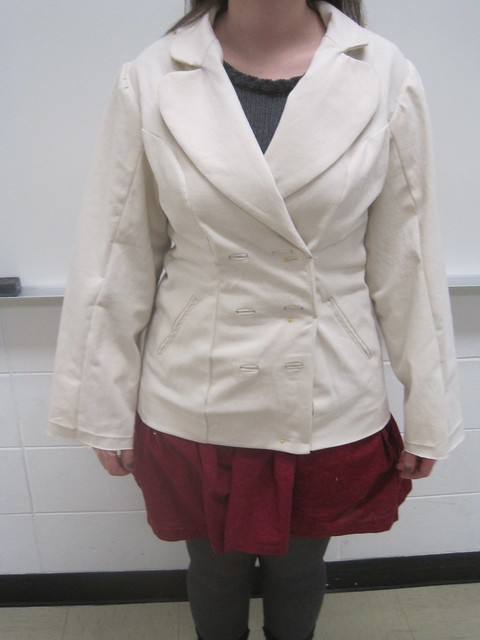
Here is one of my final muslins. It's a hideous thing, isn't it? All of those bound buttonholes were just for practice--yuck.


Just look at that sleeve! Terrible, I tell you.The shaded part of the pattern there is the alteration made to the sleeve to fix the fit.

Eventually, I got the pattern perfected enough to move on to the wool. I purchased two and a half yards of this beautiful burgundy 70% Wool 30% Cashmere Italian coating. It was $50 a yard--which is so, so not in my budget, but I was weak and it was all I had ever wanted in a fabric. It is luscious and soft and drapes beautifully and is just as perfect as can be. So I went for it, and I got white silk twill from Dharma Trading Co. to dye for the lining.

Before I could sew anything, we were told we had to thread trace the seam allowance and notches on all of the pieces. This took, oh, about twelve hours, and--can I be honest?--was the biggest waste of time, because after I did sew the thing together, I couldn't follow my original seam lines anyway! The pattern behaved differently in wool than in muslin, so it didn't matter where my seam line was in the end. Haha, I guess this is how you learn!

But then, after thread tracing, doing a baste-fit, and making necessary alterations, we could begin the real tailoring. Everything had to be interfaced, so I took apart my hand-basted garment. Instead of padstitching the entire garment, we were able to use fusible hair canvas interfacing. I still did my share of padstitching on the under collar with a bit of sew-in hair canvas, and let me tell you, that was enough for me! I am deluding myself into thinking that next time, I'll make a coat with a totally padstitched front and lapel. I'm sure I'll hate myself for it about six stitches in!

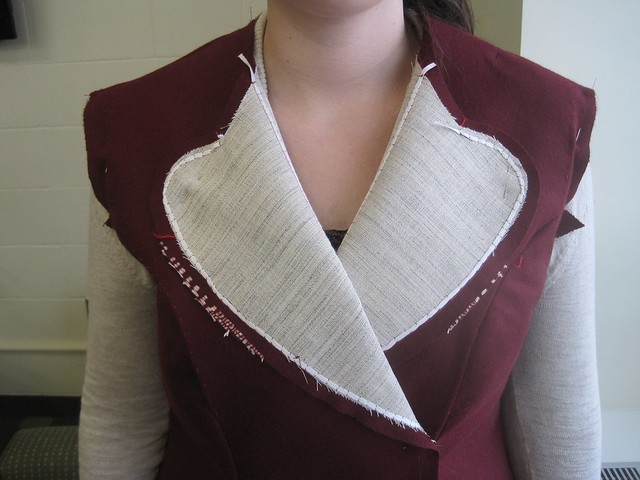
So, the body of the garment was interfaced with hair canvas, and the sleeves and facings with tricot. Then, I handstitched 1/8" twill tape along the edge of the lapels and front opening edge. I also stitched twill tape along the roll line, stretching the tape as I went, so that it had a natural roll that would last forever.
IMG_2610

See those itty-bitty stitches? See how they all match up on either side? What, obsessive? Me? No way.

Many hours of handstitching later...
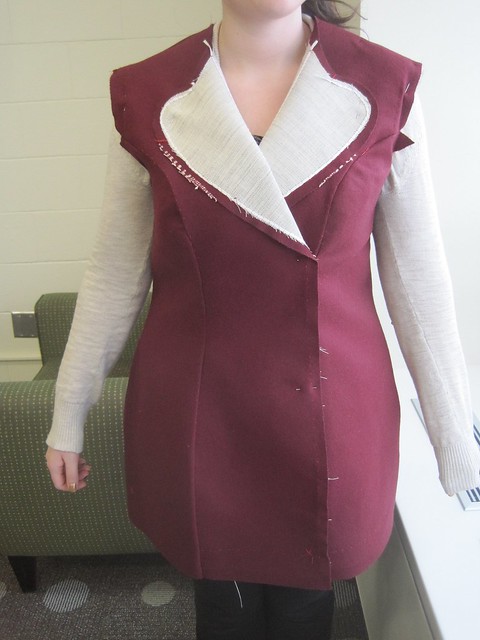
IMG_2607

I sewed it for real!

IMG_2608

IMG_2609

And then took it out again. Besides fixing that back princess seam--who knows what went wrong there?--I had to take it in a tad, because the seams didn't look good unless I caught 1/16" of the interfacing in the seam allowance. Trial and error, I tell you.

Also, I had some leather work to do! I made a flying yoke, as you can see by the pattern development there, and cut it out of two layers of brown leather. I also cut out six hinge pieces for the front closure. These all had to be rubber-cemented, suede-sides together, and distressed with sand paper.

I went on a mad hunt to find a place to set my snaps for me, but I couldn't find any shop that would do it in the time frame I needed--and I really, really didn't want to leave my precious work with someone else for an extended period of time. I don't think anyone would have wanted me nervously hovering while they cut holes to set the snaps, which is surely what I would have insisted on! So, I bought a kit and did it myself, and probably angered a few people in my dorm with my hammering. Anyway, the snaps look great and seem like they'll hold forever, which was what I was worried about. However, I don't have any photos without showing the whole garment, so you'll just have to wait!

Other things I had to do for the garment were making shoulder pads and sleeve headers, and painting the lining an obnoxiously bright yellow. It turned out awesome!

Ah, but here I've spent way too long writing this post and not enough time working on my project! These photos are pretty lackluster, but I'll post some of the finished thing next time. Maybe I'll even include some runway photos! If you've made it this far in this novel of a post--thanks for reading, even when I'm so long-winded!

Wednesday, May 9, 2012

Little Gems

DSC_0442e2

I am a terrible blogger. Let's just face it, shall we? I think, after four years of this, we all know I will post only sporadically, and in brief spurts at best. I probably won't reply to comments regularly, even though I ought. I won't take consistently good photos and I will change up my content all the time. I wish I were better at this, but to be honest, it just isn't the right time in my life. I've been getting better at prioritizing my time, and by doing so, school goes to the top and internet goes to the bottom.

And that school... Let me tell you, I've been learning so much in my two years in the program. It's harder than I ever imagined, but it's also the kind of thing you learn to deal with as time goes on, and you get better at managing how you work the more you practice. And the people help. Having made best friends out of the girls in my major has, quite truly, made this whole Apparel thing survivable.

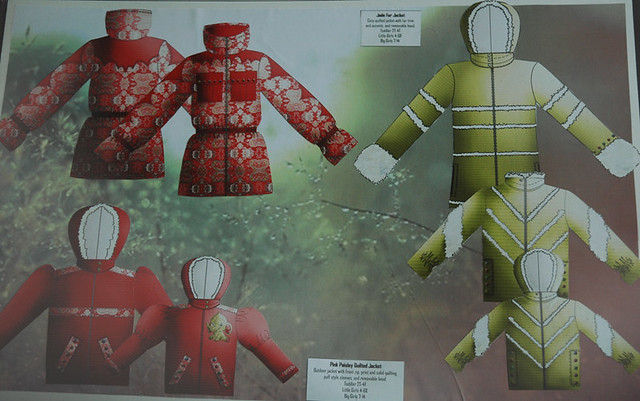
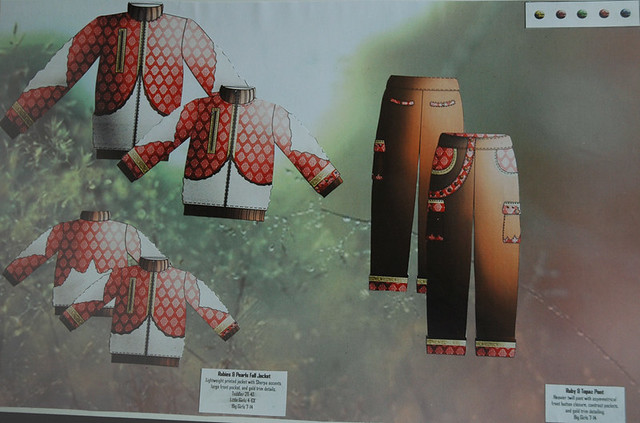
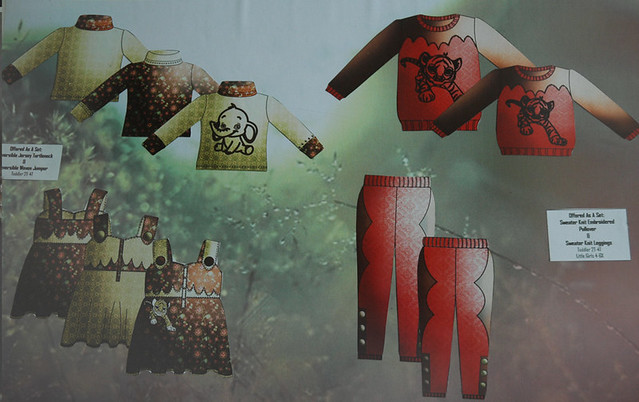
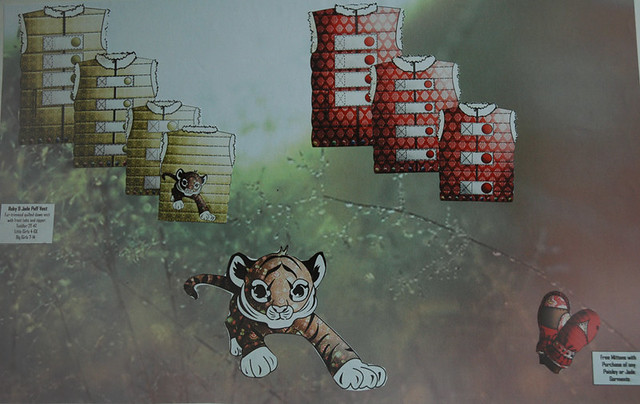
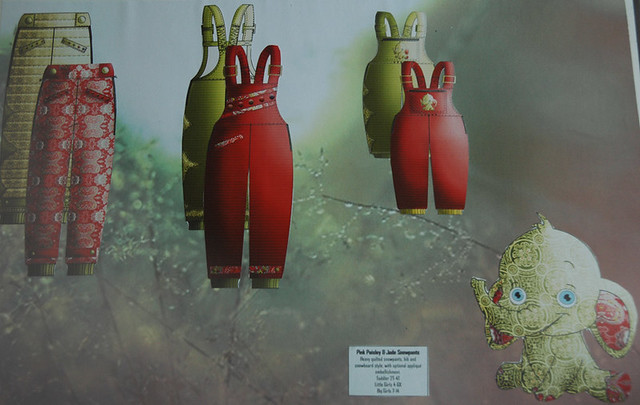
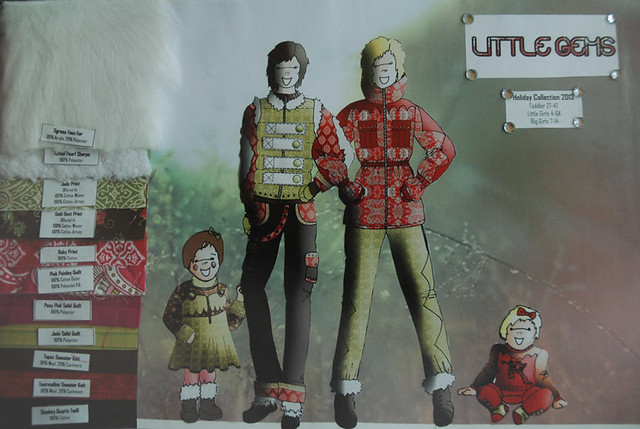
Anyway, it's finals week. I'm in the middle of making portfolio pages for the garments I made in my Advanced Pattern class. This past week was our fashion show. But more on all of that later! Here's my Children's line from last semester!

DSC_042e2

DSC_04e2 copy

DSC_02e2 copy

DSC_42e2

DSC_e2

More projects to come!

Wednesday, March 28, 2012

Line Development - Men's Line

DSC_0445

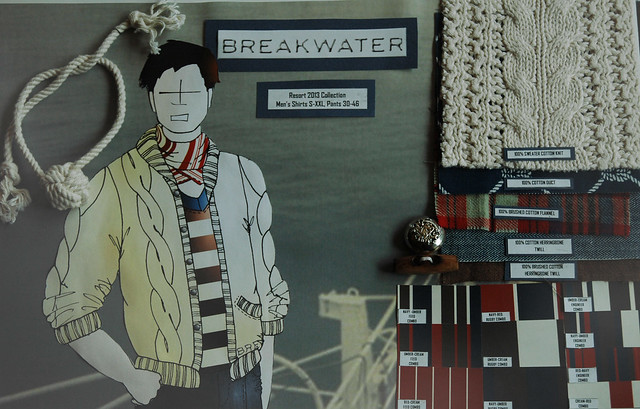
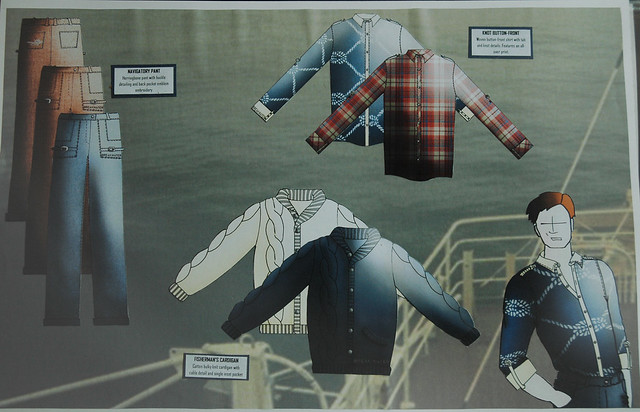
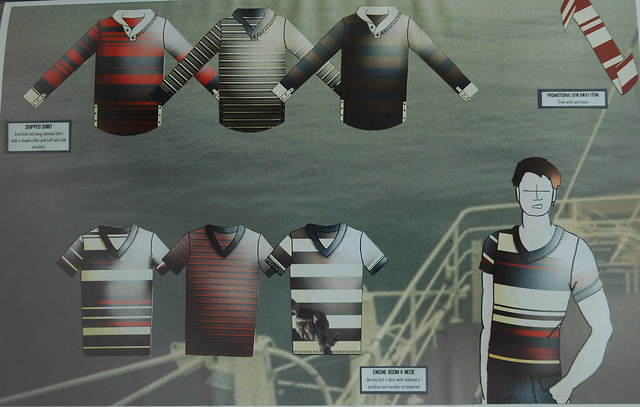
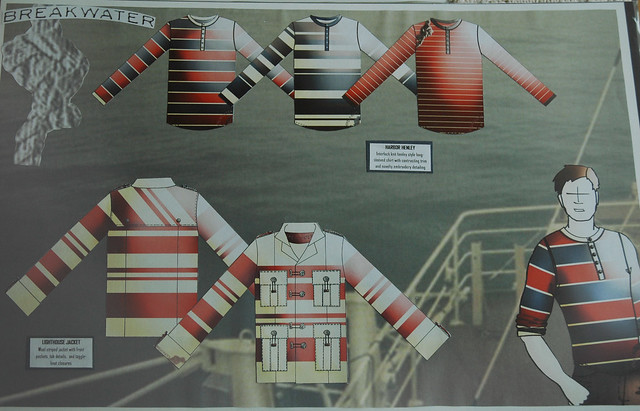
This was my men's wear line. For this one, we got to be a little less creatively driven, and we had a lot more requirements. The main ones were that we had to do striped knit shirts with varying patterns, that it had to be a resort collection, and it had to have a certain amount of branding, motifs, and emblems included. Knots were my main theme, and my mom even tied the knot on my cover page above! So sweet. :)

DSC_04452

This collection was hand-drawn, and then colored using Photoshop. It was so neat to learn to use the program to create patterns! Coloring remained my favorite part of the process through this project, and learning to dodge and burn was a total game-changer for the quality of my flats.

DSC_044522

Also, I draw very angry men, apparently. They're all sneering!

DSC_04452e2

This line was a bit of a struggle to complete in our given two-week time period. What I remember most from the day I turned it in was the sheer exhaustion: I hadn't slept in three days save a few naps, and I couldn't even stay awake through my classes afterward. But, it was worth it. It's always worth it to pull all-nighters like that, because the alternative is turning in sub-par work. By the time I finished this project, I decided that I enjoyed outerwear more than anything else--and it helped that I was better at it than other aspects of design. I think that was my favorite part of the class in the end: learning your strengths and weaknesses is so hugely important to success. Knowing that I enjoyed outerwear gave me direction for the next project: children's clothing!

Tuesday, March 27, 2012

Line Development - Women's Line

DSC_0440

Welcome to my life in Fall, 2011.

DSC_0443

I lived and breathed my Line Development class for three months, and oh, what a crazy time it was. I wrote about it back in January, but to give more of a recap of what the class actually was, I figured I would show some pictures from my portfolio. Before this class, I couldn't sketch. I mean, I really could not articulate my ideas on pen and paper. Here is proof, and I only am linking you to this to prove a point: these awkward drawings make me cringe!

To say I was nervous for this class would be an understatement. Sewing is my strong point, not sketching! And yes, I struggled, but all the extra work make success that much sweeter.

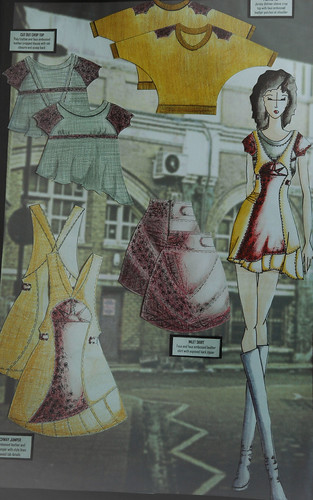
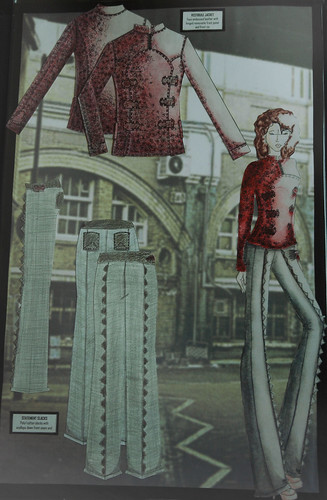
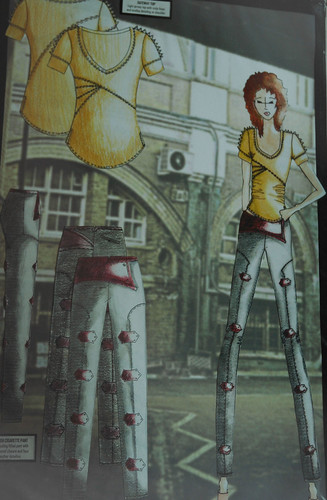
But anyway! This is my women's wear line. I was inspired by arched doorways and hinges, and that was the driving point behind most of the pieces.

DSC_044d

DSC_044d3

Everything in this collection was hand drawn and hand colored. I used Prismacolor pencils and a clear Prismacolor blender on top to get the partial rendering effect. Coloring was definitely my favorite part! Getting the texture, hand-drawing embossed leather and tweeds... it was such fun. Remember that jacket from up top... You'll be seeing something similar soon!

Monday, January 9, 2012

just close your eyes


Thanks for your nice comments on my last post, guys! I can't believe you haven't forgotten about my in my long sabbatical. I know I always say this, but I think I will have more time to post this next semester! Hopefully. I'm taking three Apparel classes, though, so I guess we'll see. Advanced Pattern Development will be my hardest class by a mile: it's more draping than flat patterning, which my first pattern class was on. I've heard the professor just draws a design on the board and you have to figure out, in class, how to drape it with your chunk of muslin and box of pins. Eeek! I'm also taking Quality Analysis of Sewn Products, and I'm not totally sure what it will be like. My third Apparel class is Textile Evaluation, where we test fabrics for, say, tensile strength, or flexibility, or abrasion resistance.


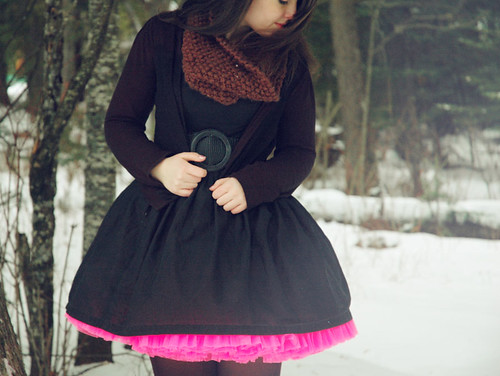
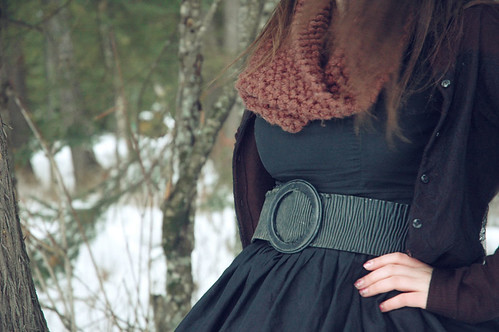
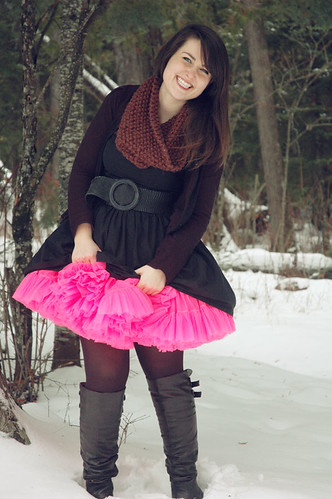
dress & scarf / handmade | sweater / new york & co | petticoat / thrifted | boots / urban original


I live in this scarf, it's true! And these boots, for that matter. What's in your closet that you can't help putting on most days?