Showing posts with label dyeing. Show all posts

Tuesday, June 30, 2015

Silk Shells


Here's the deal. I am a fabric hoarder. Sure, but aren't all sewers? But that's not the worst of it. I am a fabric SCRAP hoarder. If there is a quarter yard, I will keep it. Who knows when it may come in handy! Most of the time, this leads to bins of chaos that eventually need to get purged. But sometimes, inspiration strikes, and I really actually do use those scraps. This, my friends, is called justification. Because I used some scraps, once or twice, I convince myself to keep alllll the other scraps.


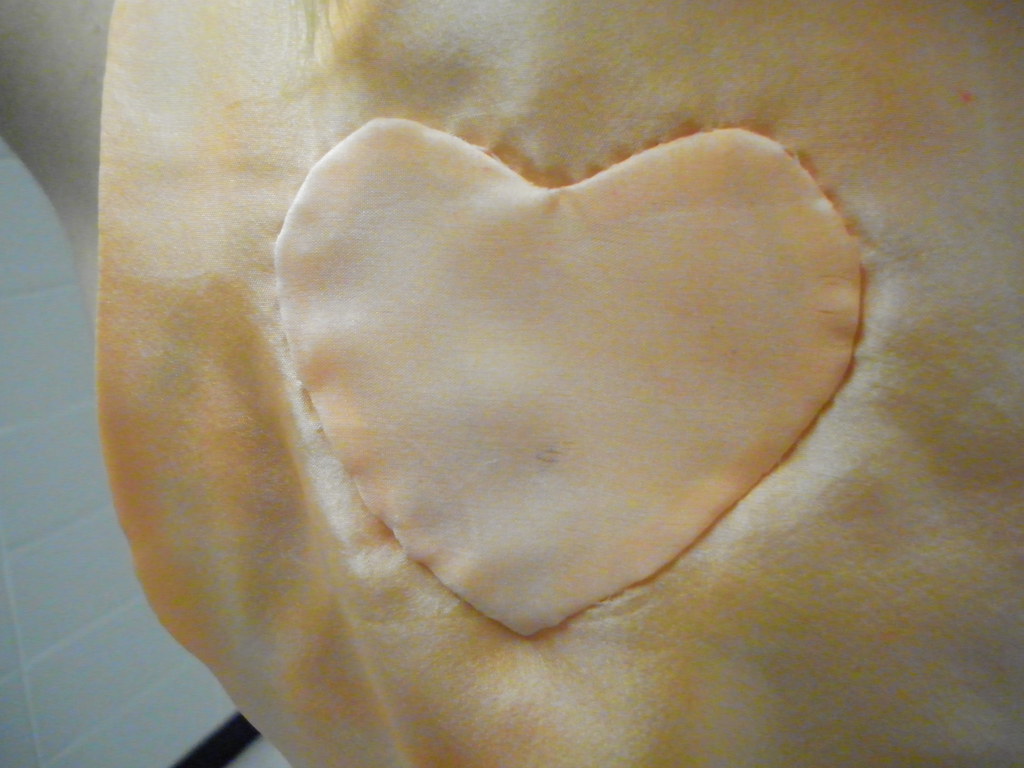
But anyway. This is a top I made sometime this winter, using two different weights of silk I purchased from Dharma Trading Company. The yellow is leftover twill from the lining of this coat, handpainted and therefore could NOT be tossed (obvi). The white is leftover habotai from the lining of this skirt


This was a self-made pattern, very simple and straightforward. I used french seams for the shoulders and side seams, and the neck and armholes are bound with self-bias tape. The hem was carefully handpicked and catchstitched. I sewed this on my Singer Featherweight, a new acquisition from my aunt, and it is seriously the dream everyone has always said it is. Sewing on that machine is perfection. It has a myriad of clever feet and folders that I haven't played around with yet, but I'm sure they would've saved me hours on this shirt if I had. So much handsewing!


I really love that this shirt is two different weights. As you can see, the back is so flowy and drapey, displaying the absolute best characteristics of silk fabric.


I was so pleased with how this turned out that... I made one more!


Now this was leftover silk twill from the lining of a dress from my senior collection. It's also fabric from Dharma (my absolute favorite source for silk), dyed with fiber reactive dyes that my mom had on hand. (She's got an amazing collection of supplies and I'm so lucky she lets me play with them!) I had the most difficult time getting this color -- it originally came out emerald, so I overdyed it. I know the mantra of hand-dyeing is "love what you get", but it took me a while to love this fabric. Still, I had a fair amount leftover (COULD NOT TOSS), and it wasn't until I made it into this top that I truly began to love it.


I'm going to be honest, I don't think this was cut on grain. I made do with the scraps I had, and because of this, the bust darts are... funky. But, you know, not enough to give me cause to redo them.


I am especially pleased about the fit of the armholes here. They are sized to still give me movement, but there's really no awkward gaping or bra visibility.


Again, french seams, self bias binding, sewn on the Featherweight. I still haven't finished hemming this - I turned up the hem once and machine stitched it, and haven't mustered the ability to sit down and handsew the second turn of the hem. I may never.


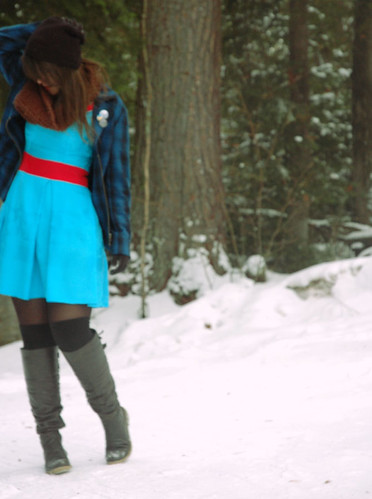
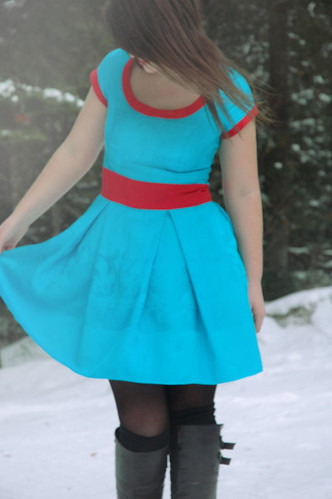
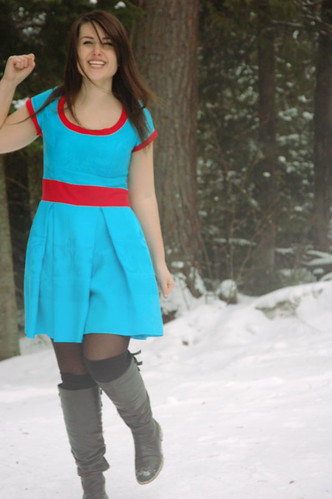
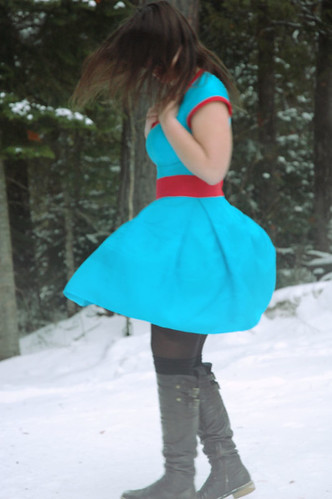
Don't even ask about the scraps leftover from these. Okay, fine, yes, I still have them. They might be useful someday.

Tuesday, January 3, 2012

Bleak Midwinter

DSC_0457

Oh hi!

It was a crazy semester. That's really the only reason I have for my absence here. I hardly slept, let alone made any clothes. I had never worked so hard on anything until I worked on my Line Development homework--learning to draw, design, and put together cohesive lines of clothing. Getting a portfolio together, learning photoshop... it all required a lot of time and effort and I seriously pushed myself to my limits. It was so, so worth it--worth skipping other classes to finish projects, worth pretty much letting go of my social life, worth all the consecutive nights stayed up before projects were due, sitting for 24 hours in one spot, working nonstop.

Because now that it's over, now that I'm home and can remember to eat normal meals, get a full nights sleep, and let go of the massive doses of caffeine, I can proudly look at my portfolio and know that it is a kind of quality I am proud to show potential employers, something I can bring to internship interviews. That I created something I'm proud of and loved doing it (for the most part) and know I'm still passionate about this--that's worth it, in the end.

Oh, and I achieved a 4.0 GPA for the first time! That was pretty gratifying, too.

I am sorry for any emails that went unanswered, attempts to contact me that were to no avail. I really let a lot of things go this fall. I'm playing catch-up, but if you tried to contact me and I didn't reply, do try again!

DSC_0483

This is a dress I made spontaneously on New Year's Eve. It was the first garment I'd made in months! I was sick of everything in my closet, and I'd happened to throw two table cloths on top of each other while cleaning my sewing room. One was a thrift store find from the summer, and the other I had dyed several years ago with the intent of making something eventually. After staring at them a little while, I decided I needed a new dress to wear that night. So I copied a pattern from the dress I posted pictures of on my birthday, and got to work right then. Four hours later, I had myself a new dress and a couple hours left to make some desserts for our annual party.

DSC_0472

It's really rather poorly thrown together on the inside--I didn't use seam finishes or anything--and the waist is a smidgen big on me. But it's fun and new and I'm okay if it doesn't last forever.

DSC_0476

DSC_0489

I also made my cowl: it was a little exercise in maintaining sanity during the semester. My friends and I went out, bought yarn and needles, and just sat and knit to unwind. It worked!

cowl & dress / handmade | jacket / gift | socks & gloves / target | boots / urban original

DSC_0487

My New Year's Eve was lovely--food, music, friends, fun, and a bonfire, as usual! How was yours? What are your resolutions, if you made any? Hope your fall went well--tell me about it!

Sunday, April 24, 2011

workin' the catwalk


photo credit briana underdahl

Last weekend, the apparel department at my school held its annual fashion show. It was my first ever fashion show: the first time I ever saw one of my garments walk down a runway. Exciting? I think yes. But I'm getting ahead of myself!

I posted about my design a while back, but of course the real thing turned out a little differently. I ended up using two different weights of silk habotai, painting it with a couple shades of Serasilk dyes. I laid the fabric out on our kitchen table over spring break, got it damp all over, and just kind of went crazy. I threw salt on it for color variation, and used stronger paint in some places.


It turned out exactly as I wanted!


I'd already done two muslin fits of the dress, so once the fabric was done I went ahead started putting together the dress. It wasn't exactly a picnic--I did french seams and went about everything super carefully so it took a long time to make. At 11:30 pm, two days before I had to bring the garment in for to be evaluated for the show, I was trekking along, understitching the neck facing. I was thatclose to being finished. I went to clip my threads, and--disaster struck. The main fabric of the back panel got caught in my shears and I cut a hole in the dress. It was a tiny, 1" v-shaped snip, but it was a hole nonetheless and I couldn't possibly turn it in looking like it did.

I sat and stared at the hole in utter shock, and then looked up at my roommate. We discussed possible options for fixing it--add another cutout? Applique a patch? Embroidery? Replace the panel? And then I set the dress down, went to the bathroom, and started sobbing. I seriously bawled my eyes out. After the countless hours, all the money, all the work... this stupid mistake was going to mess this up! I wouldn't be able to have my dress in the show!

Sure, it was maybe an overreaction. But you pour your entire self into things like this, and when something so awful stops you up, it's kind of heartbreaking. I went and found my dear friend Lindsay, who had serged a hole in her dress just the week before. All hiccup-y, I said, "I just cut a hole in my dress.... and I knew you'd understand." She gave me a huge hug and then looked at me and said, "Addie. You're going to be able to fix it. It's going to be okay."

And she was right, of course.

I made a little heart applique and slipstitched it on top of the hole, and when I brought it in for judging, my professors were none the wiser.


So. The show. It was a lot of work a whirlwind, but so amazing.


This was me & Carissa, keeping tabs on all the models in this big ol' room behind the runway. This meant a lot of down time, so... homework time.


The girls backstage!


Friends, models, and designers! Left to right: Cassie (my model), me, Kym (Lindsay's model), Lindsay (modeling a garment for a senior), Alex, and Sarah (Alex's model). These girls all live on my floor/level and are such dear friends. We had a blast coming out afterward to take photos--we're behind the scenes the rest of the time so it was nice to pretend like us little freshmen had a bit of the spotlight. :)


Me & Cassie!


Cassie took this cute series that shows the dress very nicely.

So, that was the show! It was such a great experience, and I'm already plotting out ideas for next year. My first fashion show, a success!

Wednesday, October 29, 2008

A sheet dress

So a few weeks back (or longer, haha), I posted a medieval style dress I'd made out of sheets. Normal clothes, too, can be made out of sheets too, as you will see below.

I love this dress! It's a crossover-styled top with elastic in the back for a variable fit. My favorite part would definitely be the long sashes, because it can be worn in totally different ways. It's like an infinity dress out of non-stretchy material! Oh, and do you happen to recognize the material? Back... um, February? March?... winter, at least, I posted about how I'd dyed some sheets. That's right, this is the top sheet!

I know, I know it's low cut and shorter than something I'd normally wear, and it's certainly the wrong time of year to be making a sundress, but it's so cute and worn with, say, a slouchy cardigan, tights, and knee-high boots, it's perfect for fall. Or winter, if you live in one of those crazy places where it doesn't snow much, and it gets warm and spring-like in March. Trust me, that never happens in Minnesota!

Anyway, onto pictures:

Empire waisted:

The back, with elastic:
This is my favorite way to wear it-- it's quite Grecian and waist-defining:

Although this one is for me, I am planning on making a few to sell on Etsy (which I'm going to update any day now, I swear!)-- some out of sheets, some out of this lovely printed rayon I picked up sometime during the summer.

Also any day now, I'll be taking proper photographs of a few things I keep meaning to list on my shop, so I'll be sure to show you those. And, of course, my lovely jeans (which, while styled to my specifications, stretch out right away and get really baggy, haha).

During the next month, I promise I'll try and post more often (I always say that!), but if you only get a post with pictures, you'll have to excuse me: all of my writing will probably be going towards my novel, as I'm again participating in National Novel Writing Month (http://www.nanowrimo.org/). For the sake of my fingers and the carpel tunnel I'll be getting, don't complain! Just kidding. :)

Friday, February 22, 2008

Dye, stripes, and the Pogues

It's been a busy few days! I've been experimenting with my serger, figuring out what it does and, occasionally, having to bend to its whim. My sewing machine hasn't been suffering from lack of use, though. I did break two needles on it in the last week, and I just couldn't figure out why until today. Turns out that the needle kept hitting on the plate of metal (can't recall the name of it, but it's the piece that the feeddogs come up through.). So I unscrewed it, filed the edge down, cleaned a frightening amount of lint out of the parts, and screwed it back in. As far as I can tell, that fixed it.

On Tuesday I dyed an old set of sheets that had been stained and worn thin. I had just poured the dye mix into the water with the sheets when I thought, "I should've taken before pictures!" But they were a very light blue color with pretty little flowers dotting them. Now they are a dark purple-y blue. (I used dark blue Rit dye.) My plan is to make a dress out of them using one of these tutorials.

It was so fun to watch they sheets get darker and darker, and then as I rinsed and dried them, lighter and lighter. I didn't use the washing machine for it, but instead did it in a bucket in the sink. Washing machine would have been faster and easier, but who knows what it would do to the machine itself?

I've been playing around with the yards of jersey knit I got when I was in the city. I got some super-on-sale green and black striped fabric that reminds me of Wicked (and therefore, I had to buy it), but it wasn't until I got home that I realized that it was see-through. It's been a challenge making things such as this top.


I don't really want to line the whole thing in another layer, but that's probably what I'll end up doing. I'm going to make it into a funky halter still, but for the meantime I set it aside.
Screen printing is one of my new endeavors. Ingredients: Embroidery hoop, synthetic screen or pantyhose, mod podge, paint brush, a design, fabric paint or screen printing ink, cardboard, and music to help pass the time.

Stretch the screen/pantyhose over the hoop and tighten, making sure it is as taught as possible. Start playing music. Print out image, place hoop on top, and trace design onto screen. Using your mod podge and paintbrush, fill in all the negative spaces of the image on the screen. Wait for it to dry completely. Once dry, take your shirt, ink, and cardboard. Slip a piece of cardboard inside the shirt to keep the ink from leaking through, and keep a small piece aside. Place your hoop (screen) on the shirt where you want the image to be, and pour a little bit of ink onto the screen. Using the bit of cardboard that you set aside, spread the ink evenly on the screen, pressing it through. Once you've covered the image, carefully peel the screen off. Don't forget to rinse the screen in cold water, and be sure to heatset the image by ironing through a piece of paper for a few minutes on each side. (I credit Threadbanger.com with this method, although I've since seen it in other places. Go and check out Rob & Corrine's video for more detailed instructions.)
I tried this with a Pogues logo. Note to self: Do not use highly detailed images. I screwed up a little bit, but next time will be better. The nice part about screen printing versus a stencil is that you can print an image over and over, whereas with a paper stencil, you can get maybe two prints out of it.


It had been just a plain XL men's tie-dye tee, but since the image was off-centered (thanks to my brilliance), I cut it up and made a long, long skirted top thingy. If I was a lot shorter it maybe could modestly pass as a dress, but as I'm not I'll just wear it over jeans.

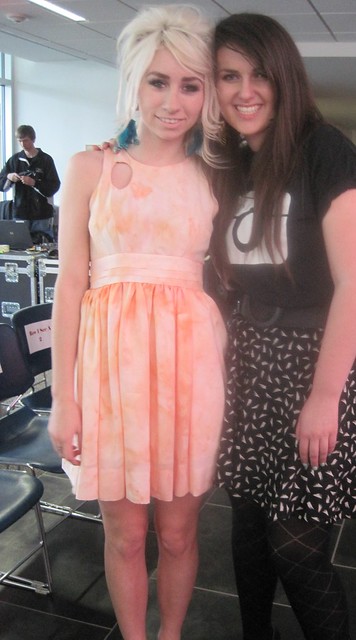
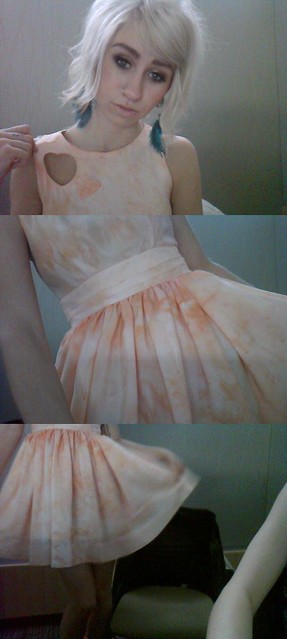
I basically just resized it, added straps, and added a pleated bottom out of some scrap material. For some reason, with the mardi gras beads, it reminds me of a flapper dress. Anyway, it was fast-- it took maybe 80 minutes to make.
I've been going tutorial crazy. I wish I had a reason to make a bunch of things for myself! Again, I give you this link. It has amazing tutorials for pretty much everything.


Follow my blog with bloglovin